
In my previous blog, we talked about the benefits that Cloud Native technologies bring to microservice software development. And, how APIClarity gives us better visibility into how and when our APIs are being utilized.
In this article, we are going to show you an example of how we are utilizing GitLab CI/CD with Kubernetes, Istio, and APIClarity to deploy a sample microservices app and control the lifecycle management of our sample application.
PreReqs:
- GitLab cloud or private deployment
- Kubernetes Cluster
- Be able to use NodePorts from your Kubernetes Cluster
- GitLab agent and runner on your Kubernetes Cluster for CI/CD
Let’s get started
First we need to clone the sample app repo from GitHub to our GitLab repo.
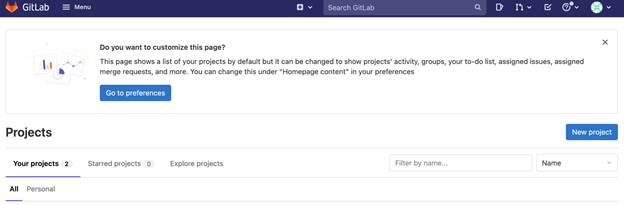
- Login to GitLab with your user creds
- Click the “New Project” button. (If you’re a first time user, click the “Create Project” button.)
- Click Import project

- Click the repo by URL button
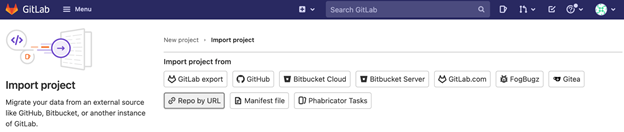
- Copy the URL, https://github.com/CiscoDevNet/microservices-demo, to the “Git repository URL” field
- Rename the project and slug and change the visibility level as desired for your preferences. For the purposes of this app, I will not change any of that information.
- Click Create Project

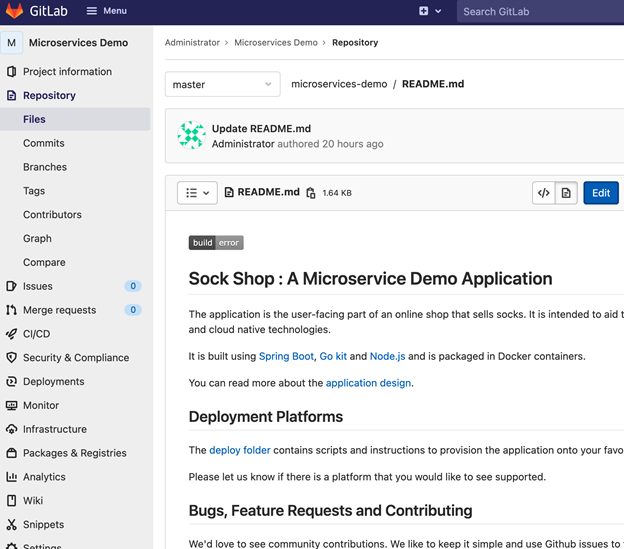
Once that is done we are going to make a small change to the README.md file in Gitlab to kick off the install.
- Navigate to the README.md file. To get to the README.md file click Repository on the left Panel, then click Files, and in the file list click the line with README.md. From there you can click the Edit button. You can also navigate to the URL for the README.md file by modifying and using the following URL https://<gitlab-domain>/<username-or-organization-name>/microservices-demo/~/edit/master/README.md
- Add a line with some text at the bottom of the edit section and then click “Commit changes”.
- Navigate to the pipeline for your new deployment example: https://gitlab.example.com/root/microservices-demo/-/pipelines
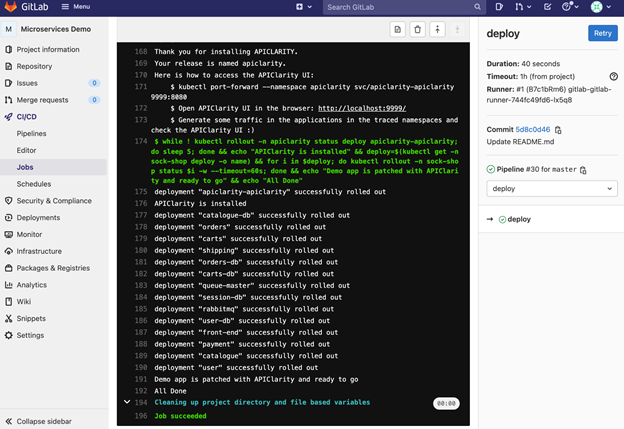
- Click either where it says Pending or Running and then click where it says deploy.

You should see the output where it is deploying APIClarity and the demo microservice project that APIClarity is monitoring. (As mentioned in the requirements, Kubernetes and GitLab integration need to be configured before completing this tutorial.) It will look similar to the following:
So, what is Happening?
The GitLab runner is checking if Istio is installed. If it is not, it will install it. It then adds the namespaces for sock-shop and APIClarity, labels the sock-shop namespace for Istio, deploys sock-shop, deploys APIClarity and then updates the sock-shop deployment to funnel HTTP requests to APIClarity.
After the first deployment, every time the code is updated it will redeploy the app with the latest updates and update APIClarity accordingly and as needed.
Now let’s use APIClarity and the sample app to generate some traffic and view the APIClarity results.
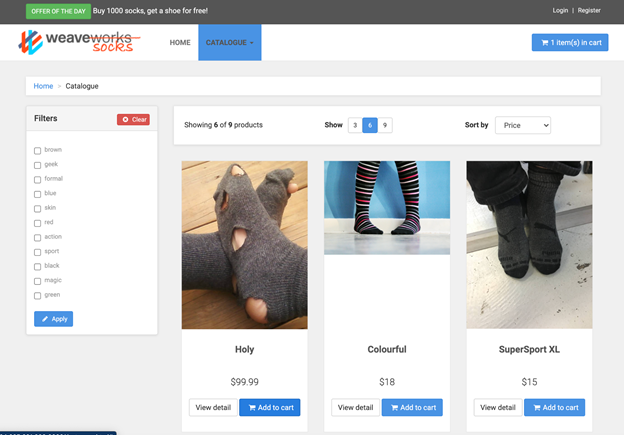
- Using an IP address tied to a Kubernetes node go to http://<kube-node-ip>:30001 and click/navigate around the site to generate some traffic on the backend HTTP API for the sample app. (Maybe add a few socks to your cart ;).
- Next issue the following command to bring up the APIClarity Dashboard.
```
kubectl port-forward -n apiclarity svc/apiclarity-apiclarity 9999:8080
```
- Then in your browser visit http://localhost:9999 or http://127.0.0.1:9999 to check out APIClarity Dashboard.
Since you have just generated some traffic, I would recommend switching the time period from the last day to the last 5 minutes to better see the traffic.

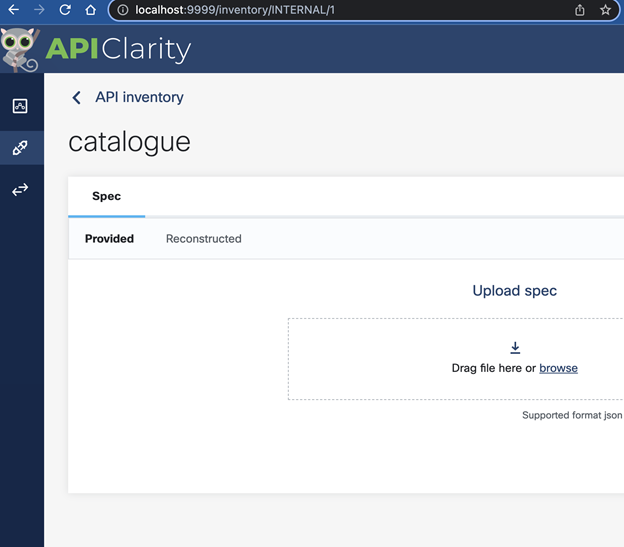
- On the left hand side click where it says “catalogue.” This should bring you here…
- Lets then view the “Reconstructed” tab
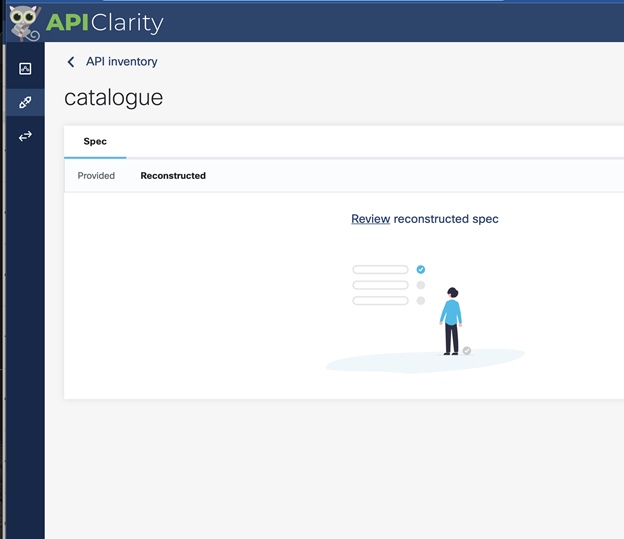
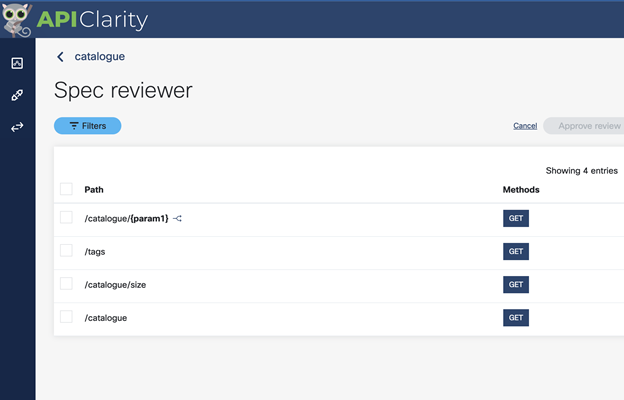
- Then click where it says “Review”. It will look similar to below. From there you can view APIClarity’s API spec.
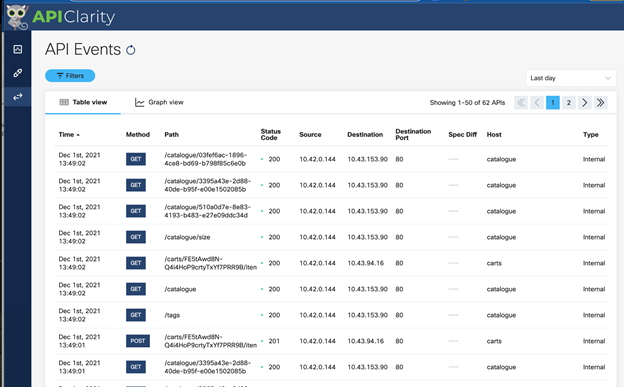
- Lastly you can view all of the HTTP API events from your sample app by going to http://localhost:9999/events/tableView.
Now, you have a first hand look at deploying APIClarity with GitLab CI/CD on Kubernetes and an intro look into some of what APIClarity provides. Please check out the site and docs https://apiclarity.io/, checkout the GitHub repo, https://github.com/APIClarity/APIClarity. Also, checkout this article on some of the why’s of using APIClarity <link to “Bringing Clarity to APIs on Cloud Native Technologies with APIClarity”>.
If you really want to take it further you can utilize this repo, where we are building a private Kubernetes cluster using k3s and GitLab from scratch and then running through the same process as we used in this article to deploy our sample app with GitLab CI/CD.
Resources to get started with APIClarity
- Watch the short Snack Minute videos to see how you can manage multiple APIs with the new open source API observability tool APIClarity
- Check out the site and docs
- Checkout the Github repo
Check out the demo video below. You’ll see how APIClarity allows you to monitor the API calls within and outside your application service, and how quickly you can get started with adding APIClarity to your application deployment using GitLab.
We’d love to hear what you think. Ask a question or leave a comment below.
And stay connected with Cisco DevNet on social!
Twitter @CiscoDevNet | Facebook | LinkedIn
Visit the new Developer Video Channel


