
In 1980, if I told you that you could program without writing code, you would have thought I was insane. But hello, it is 2022 now. The low-code/no-code revolution is real, and it’s time we all put it to work. Today I want to talk about how one low-code platform, Node-RED, is revolutionizing the job of programming Internet of Things services and devices.
Node-RED is a low-code, open source, browser-based programming platform which lets you create logical flows by connecting different Node-RED nodes (functional blocks) together.
I started my journey with Node-RED after stumbling upon some great IoT and home automation projects that use Node-RED running on a Raspberry Pi. One of my favorites was a home security project: The creator set up a camera in his home to detect people (intruders) and send off an alarm when it senses something. He built the machine learning application using TensorFlow.js and Node-RED. It was not as complicated as you might think. Node-RED makes assembling an IoT application like this very straightforward.
That’s one real benefit of a low-code platform like Node-RED: You can just drag and drop blocks of functions and connect them together graphically to create your applications. Just as importantly, the power of this platform is its capability to host and control myriad protocols, for various hardware and software modules, and to weave them together as needed to create something bigger. And all this along with making it simple to visualize the programmatic flow on a single screen.
Node-RED’s building blocks
Inside Node-RED’s graphical interface, a “node” is a well-defined, self-contained piece of functionality which allows you to set its properties. Nodes are given some data upon which they work; their output is a message in the form of a JavaScript object. You connect nodes together to form your code flow. In simple terms, it lets you draw your code in the form of a flow.
Each node is an independent function which can be connected to other nodes to form an application. You create programs by connecting these nodes. The nodes handle a lot of the mechanics. For example, to summon an API in your code, you do not have to know the HTTP libraries or web services. All you need is the node function for the HTTP service, and to connect it to your flow.
The best part about Node-RED is that it abstracts the underlying code to give the developer a high-level view of what the Node can do. But it is not a complete black box! Anyone can publish their own nodes or work with node authors to add desired features to one. Node-RED has over 3,000 nodes in its inventory today, and the inventory is growing. There is also a supportive developer community to help you when you are stuck.
Hands-on: Let’s build something
Installing and setup for Node-RED is simple. But it’s a rich system and there is a learning curve to it.
This blog post will point you to the initial installation steps, where to go after that, and then on to creating your first basic Node-RED flow. Let’s get started!
Pre-requisites
We are going to install Node-RED on a local system. Before installing, make sure you have Node.js and npm (a package manager for Node JavaScript programs) installed in your system. You can check this by running command `node -v` in your terminal. It should print the node version if already installed in your system. If not, then you can download the latest version from nodejs.org.
Installation
You can find your OS/platform specific install instructions on the Node-RED Getting Started page. Node-RED can run on a local PC or Mac, a device like a Raspberry Pi, in a container on a server you control, or on a cloud service. I am assuming you will install it on a local system, like a PC.
Once it’s installed, start the program by typing `node-RED` in the terminal. Node-RED uses port 1880 by default. So, once it’s up and running, open a browser tab on the same computer and go to `http://localhost:1880`. That will open up the Node-RED graphical user interface (GUI)
The Node-RED Cheat Sheet
Here’s a map to quickly identify the tools and components which you will see in the GUI.
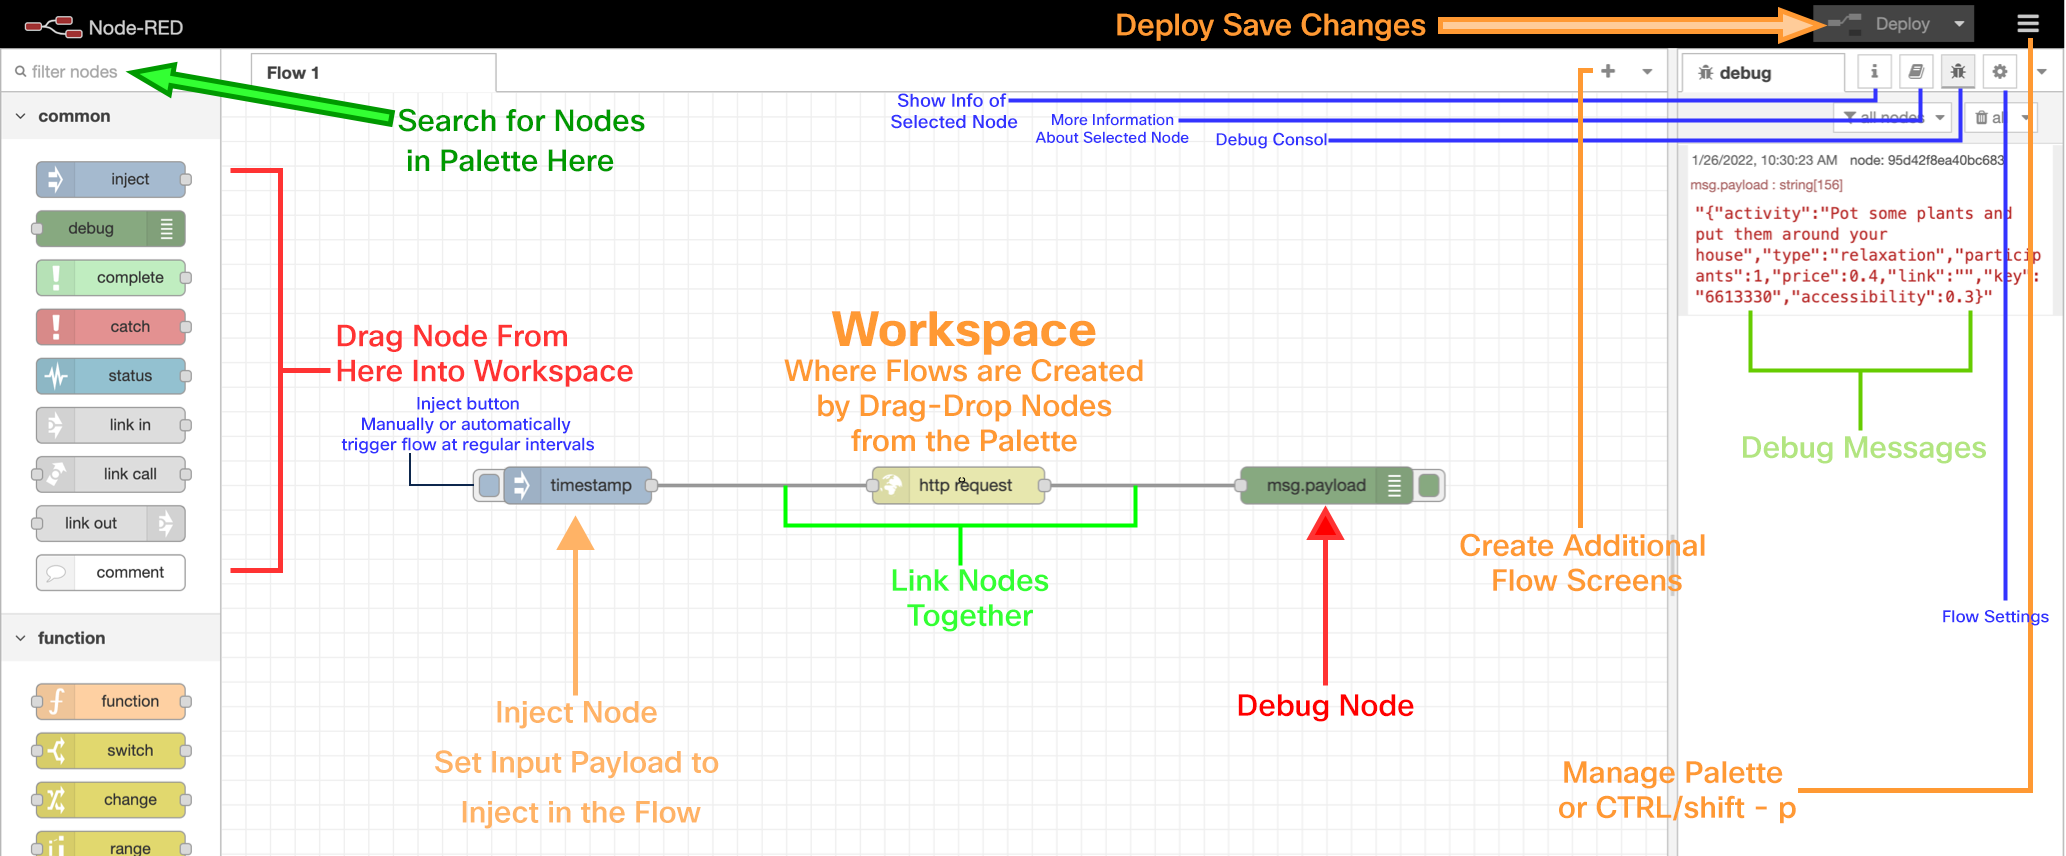
Let’s use some of these Node-RED components to create a simple “Hello, World” program. We can do this quickly with only three nodes. Our application will make a simple API GET request and it will send its output to the debug window.
Step 1: Add an Inject Node
 Drag and drop the Inject Node into the workspace from the palette on the left side. When you drop the Node in your workspace, double click to edit its properties. You can set a name of your choice to this Node in the properties dialog box.
An Inject Node will inject messages into the flow. It will trigger the flow to run, and in our example, to produce output.
Step 2: Add HTTP request Node
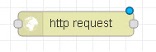 Now add HTTP request node besides the Inject node. You can use the search filter on top of the palette to look for HTTP request node.
We will be using the HTTP request node to make an API request. Once the node is dragged into the workspace, double-click on the HTTP request node to configure the node settings. In the URL section of the settings, paste in this URL ` https://www.boredapi.com/api/activity/` and click Done. This simple and security-free API randomly suggests an activity for when you are bored.
Step 4: Add Debug Node
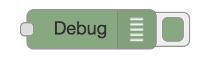 For our Hello, World exercise, we’re using the Debug node as a print functional block. Drag and drop the Debug node into your workspace from the palette. You can also click on the Debug node in the palette and see information about its properties and a description of what it does in the Information sidebar pane.
Step 5: Now wire the Nodes together
Connect the Inject, HTTP Request and Debug nodes together by dragging between the output port of one to the input port of the other. First connect the output of Inject to input of HTTP, then connect the output of HTTP to the input of Debug.
Step 6: Deploy
Click the Deploy button on the top right corner to deploy all the nodes to the server. Click the Debug tab on the right-hand side of workspace and then click the Inject button of the Inject Node.
You will see the message payload with the API response in the Debug window.

Congratulations! You have successfully created your first Node-RED flow.
What next?
Now it’s time to explore more Nodes in the Node-RED palette. Node-RED docs host many resources to help you create your custom flows.
You can try a flow from Node-RED that retrieves data from a website at a regular interval, parses the information, and displays it in the debug console.
Node-RED is a powerful system for collecting data from sensors, and for controlling physical devices. Its event-handling nodes and its rich library of downloadable node palettes give it an unmatched combination of power and flexibility. And with the graphical system it’s easy to “think in code” and get useful flows up and running fast.
In my next blog post, I’ll share a new project with Node-RED and the Meraki Dashboard API Node to poll data from the networks. Stay tuned for that! And if you’ve already started down the path with Node-RED, let me know in the comments what your first project was, and how it’s going now.
In the meantime, check out the Meraki developer page, Building IoT Apps with Node-RED, which shows how you can use Meraki networking products and WebEx together to track, visualize, and control networking resources.
We’d love to hear what you think. Ask a question or leave a comment below.
And stay connected with Cisco DevNet on social!
LinkedIn | Twitter @CiscoDevNet | Facebook | Developer Video Channel


Very interesting.thanks for such a good blog as we can learn something new 🙂
Thank you. So glad you found it useful!
Hi, great explanation about it.
Thanks,
Rafael Gazquez Rocha
I use Node-RED to pull stats from a database for a UCCE contact center dashboard showing all calls in queue. Very powerful.