
Welcome to part 3 of the journey to Vanilla ISE, a simplified ISE GUI for endpoint technicians. In part 1 we covered the background and requirements for the UI, in part 2, we explored the relevant documentation to find the relevant API calls we will use.
In this blog, part 3, we will cover parsing devices’ using pyATS and Genie – Cisco’s open-source 100% free Test Automation Solution. pyATS is the de-facto test framework for internal Cisco engineers across different platform/functions, running millions of CI/CD, sanity, regression, scale, HA, solution… tests on a monthly basis.
First rule about using pyATS: you must be able to pronounce pyATS.
The second rule about using pyATS: use the pyATS Community. We have an amazing pyATS community, with hundreds of engineers and developers sharing scripts, tips and tricks. Do yourself a big favor and join the community discussion by clicking here.
pyATS is highly powerful for various use cases. In the narrow Vanilla ISE perspective pyATS is going to simplify the interaction with network devices and more importantly – parsing their output.
Hold it!… If you’re wonder why we need to interact with a network device, and not only with ISE – it’s all about the customer requirement. My customer wanted to query a switch and understand the authentication status of all endpoints connected to that switch, and ISE will not be aware of endpoints behind interfaces that are not configured to authenticate. Hence, we need to query the switch itself.
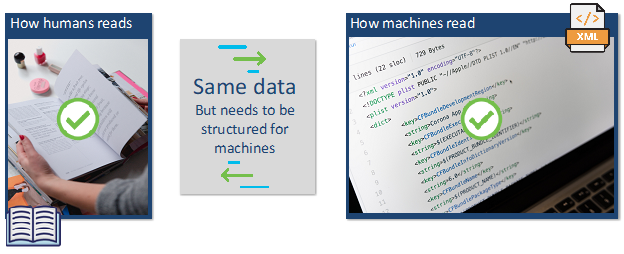
If you ever tried to communicate with a network device over CLI (using paramiko, netmiko and other libraries), you must know the biggest challenge is to make sense of the bulk of text you’re getting back. While we (i.e., humans) get very quickly accustomed to a certain format (a book with chapters and paragraphs, a newspaper with articles, Cisco’s CLI outputs, etc.) – a script needs to be very specific in order to make sense of the information.
That’s where pyATS comes in, with its set of parsers and modules. pyATS has a built-in library called “unicon” that will interact with the devices, so no other library is required.
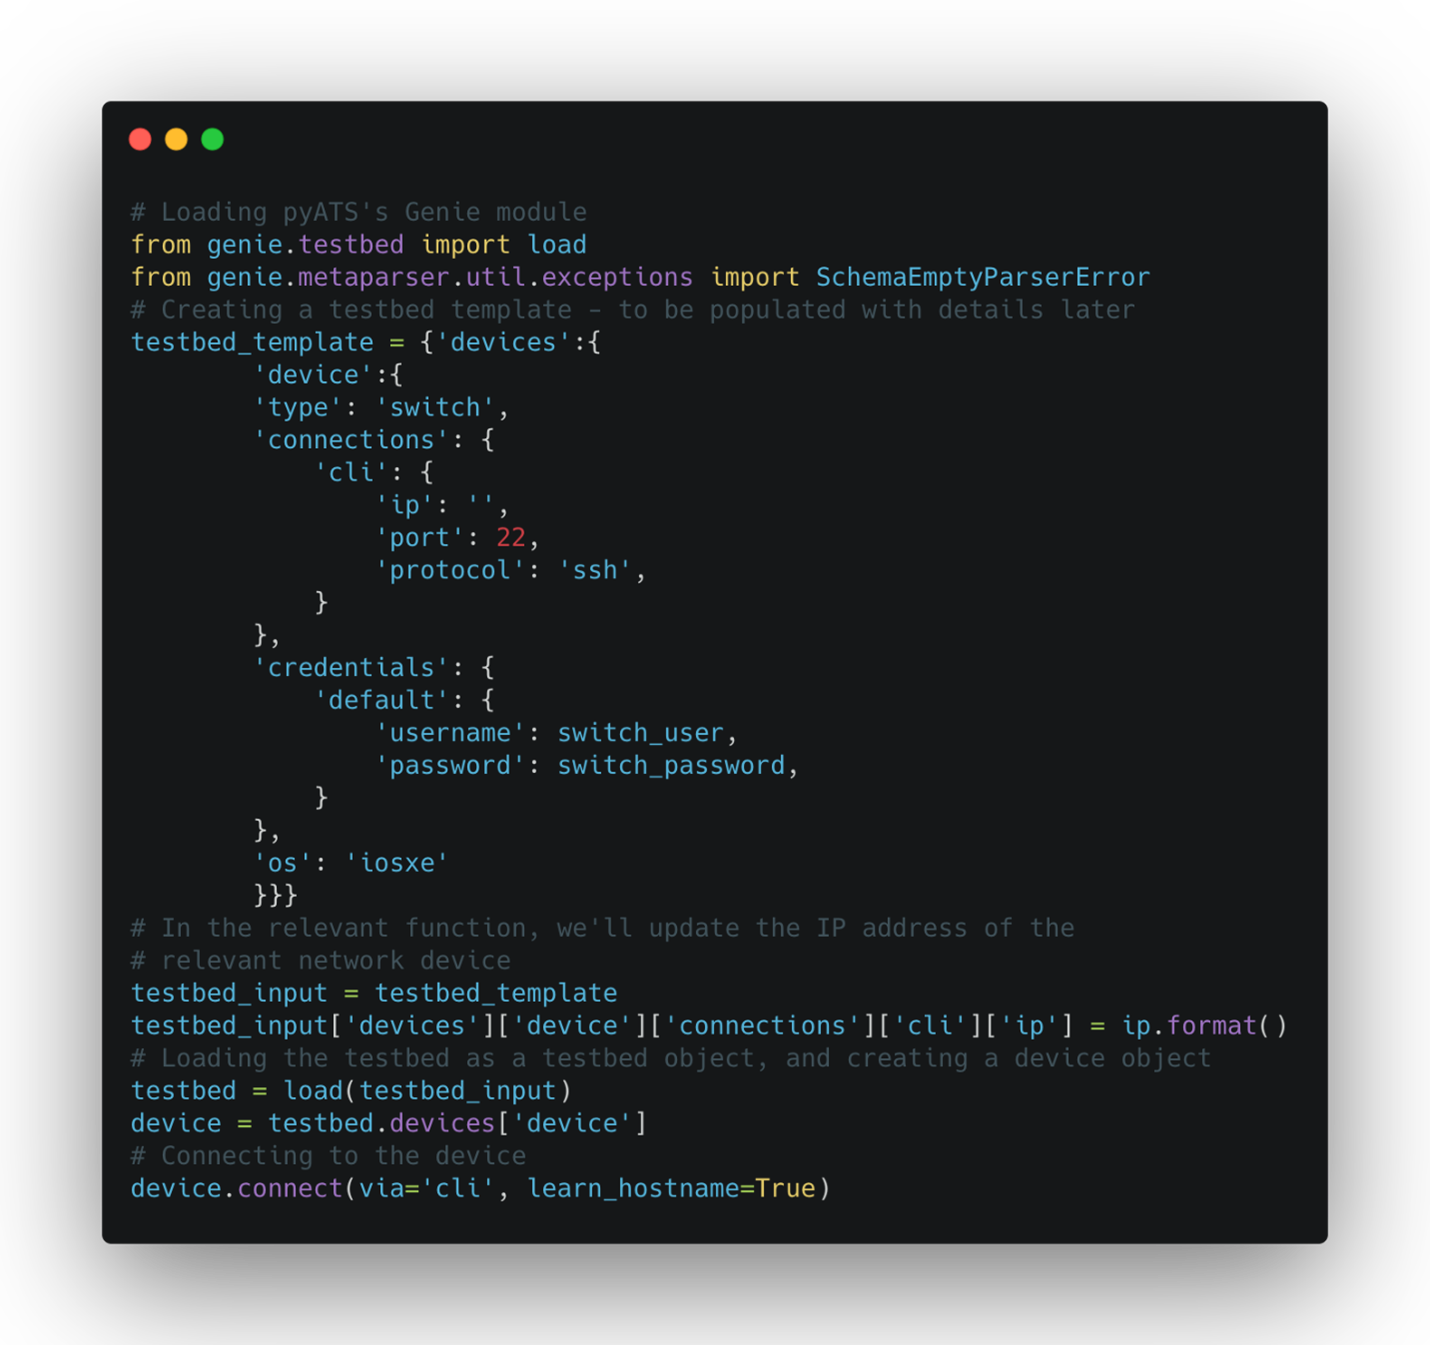
Code breakdown:
Now, this is where the magic happens!
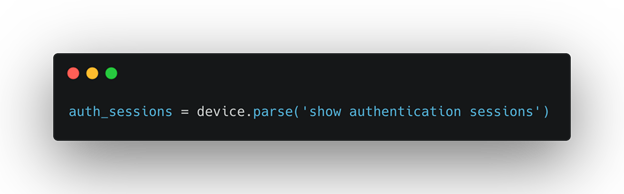
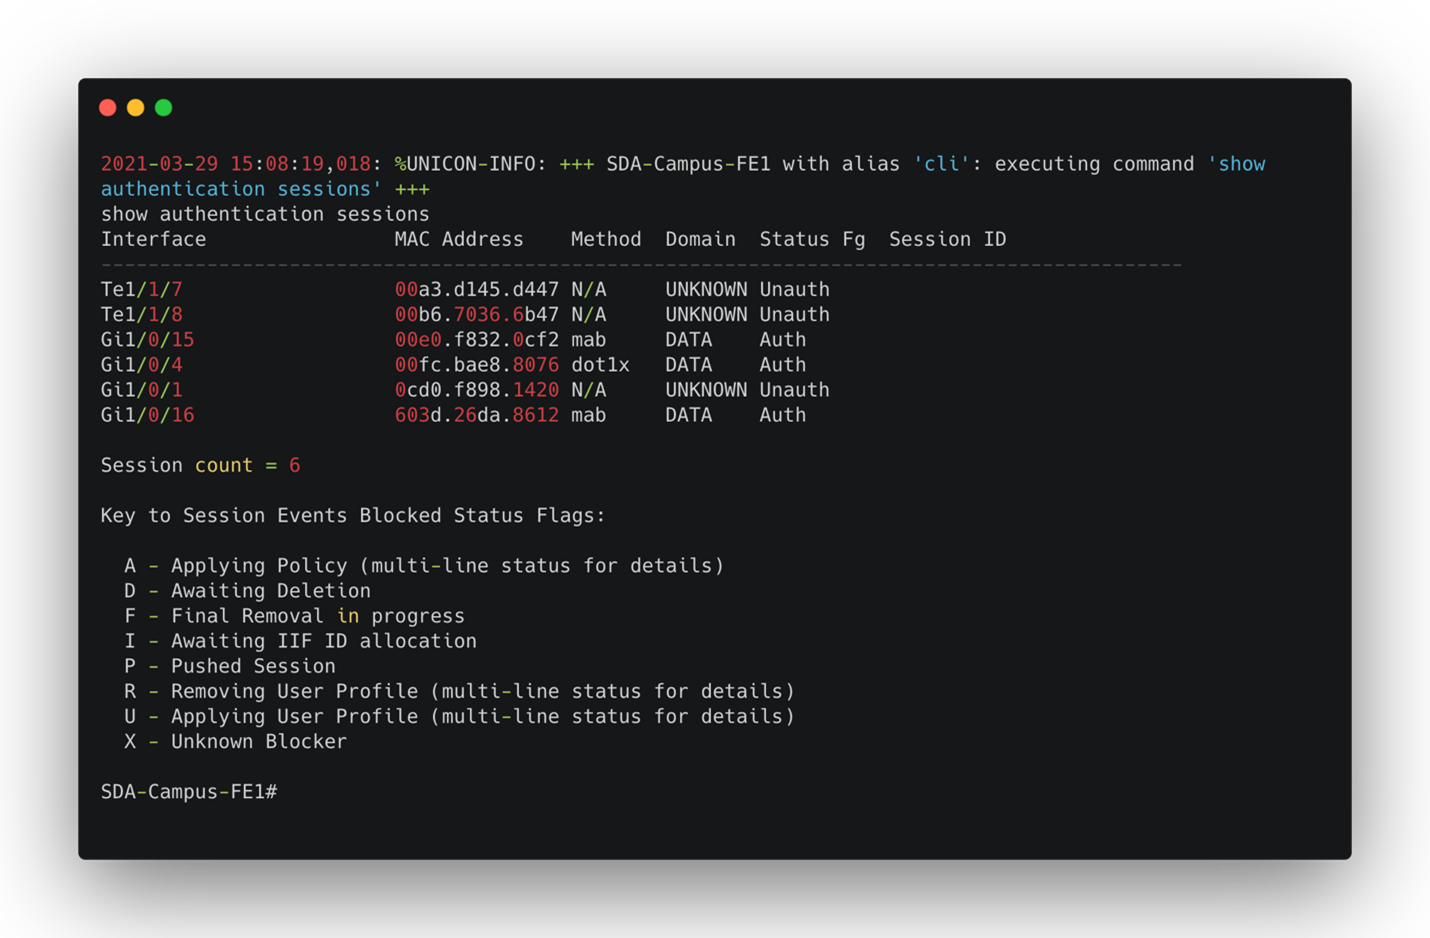
While the CLI command “show authentication sessions” produces the following output:
Genie parses it to JSON format, and the result looks like this:
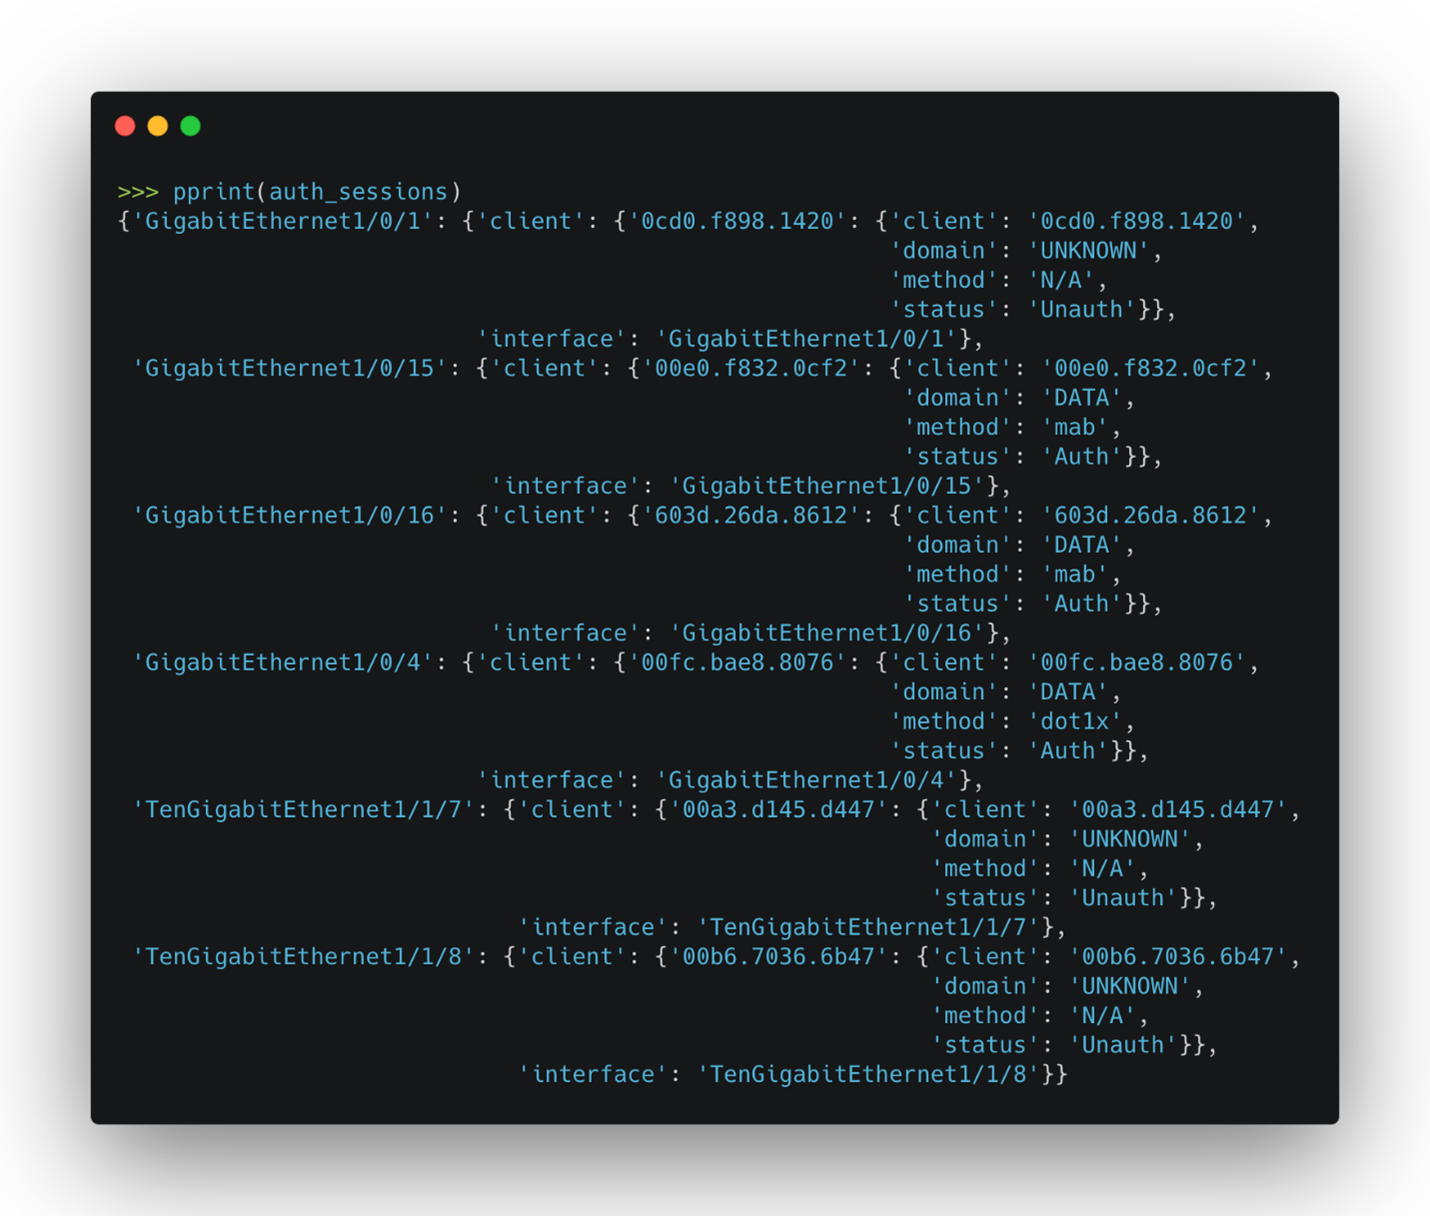
Structured, machine-readable, and ready to go!
Creating a table, looping through the results or any other operation can be done at ease now.
In our case, the details in “show authentication sessions” is not enough, that’s the code will loop through the results and gather additional information using “show authentication sessions interface {interface} details”.
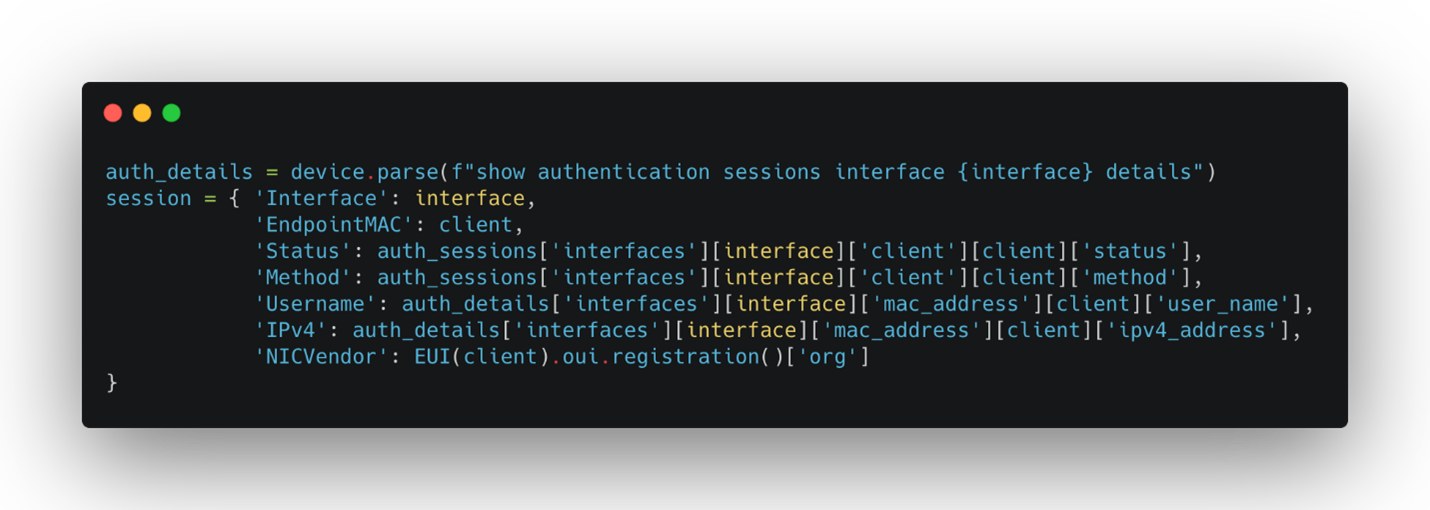
Relevant details are gathered to the “session” dictionary that will later be returned to the front-end.
Some of you must be wondering – why not use model-driven programmability (NETCONF/RESTCONF) which will generate structured data to begin with?
Well, that is true. MDP provides structured data by definition and if we would have created Vanilla ISE in a greenfield environment – we probably would have used it.
However, the customers Vanilla ISE was created for used various generation of network equipment. Some as old as Catalyst 2960S, running classic IOS, and do not support NETCONF or RESTCONF – that’s why the lowest common denominator is SSH/CLI.
Coming in Part 4 of this series, we will move on to delivering the “vouchers” capability, the creation of the front-end, and the collaboration between different people making it happen.
Related resources
- Learn more about Cisco Identity Services Engine (ISE)
- Visit the DevNet Security Dev Center – to learn how Cisco Security supports third-party integration across its portfolio with 18+ open APIs and integration points.
We’d love to hear what you think. Ask a question or leave a comment below.
And stay connected with Cisco DevNet on social!
Twitter @CiscoDevNet | Facebook | LinkedIn
Visit the new Developer Video Channel


