
Read previous blogs in Adam’s Cisco DNA Center series
Find out about network issues before your users do!
Cisco DNA center has a powerful issue correlation engine for enterprise wired and wireless networks. Taking real time feeds of network telemetry it is able to identify issues and provide context for resolution. The next question is what to do with the events? Some customers would like to send them to an email system, where as others would like to create a message in an instant messaging system.
Fortunately, there is a webhook based notification that can be used to process and handle issue notifications. This blog post provides a simple python script to send a notification to a Webex Teams room, or email server. Version 1.3.1 of Cisco DNA Center provides native email integration, so I will focus on the Webex Teams integration.
Getting Started
As with all of my examples, the sample code is posted on github.
The first step is to download the code and create a python virtual environment (the virtual environment is optional). You need to change directory into the WebHookServer directory.
git clone https://github.com/CiscoDevNet/DNAC-Platform

python3 -mvenv env3
source env3/bin/activate
cd DNAC-Platform/WebHookServer
The next step is to install the required python libraries
pip install -r requirements.txt
You will also need to edit the configuration file config/dummy_spark_config.py and add a Webex Teams roomId and provide a valid Webex Teams token. To get a token and find the API call to discover the roomID go to developer.webex.com .
AUTH="Bearer XXXXXXXXXXXXXXXXXXXXXXXXXXXXXXXXXXXXXXXX"
# alerts room
ROOMID="XXXXXXXXXXXXXXXXXXXXXXXXXXXXXXXXXXXXXXXXXXXXX"
You need to run the server and it will listen on port 9000. This can be changed if required.
./server.py
Testing out the issue notifications
The next challenge is to generate an issue. Fortunately, I have provided a sample script to generate some “dummy” issues.
The client directory contains some “fake issues” that can be sent to the server for testing.
If you run the client.py program will no arguments, a list of valid issues is provided.
./client.py
Run with --event and a valid example.
Valid Examples:ap_down_eg, ap_flap_eg, border_dhcp_eg, device_unreachable_eg, swim_eg, new_flap_eg
The schema for issues changed between 1.3.0 and 1.3.1. There are examples for both old and new versions. New versions has prefix “new.” The new_flap_eg is an example of a new issue. I am going to send the new format example.
$ ./client.py --event new_flap_eg
Sending:new_flap_eg
200
The server will display the JSON payload, as well as sending it to the Webex Teams room.
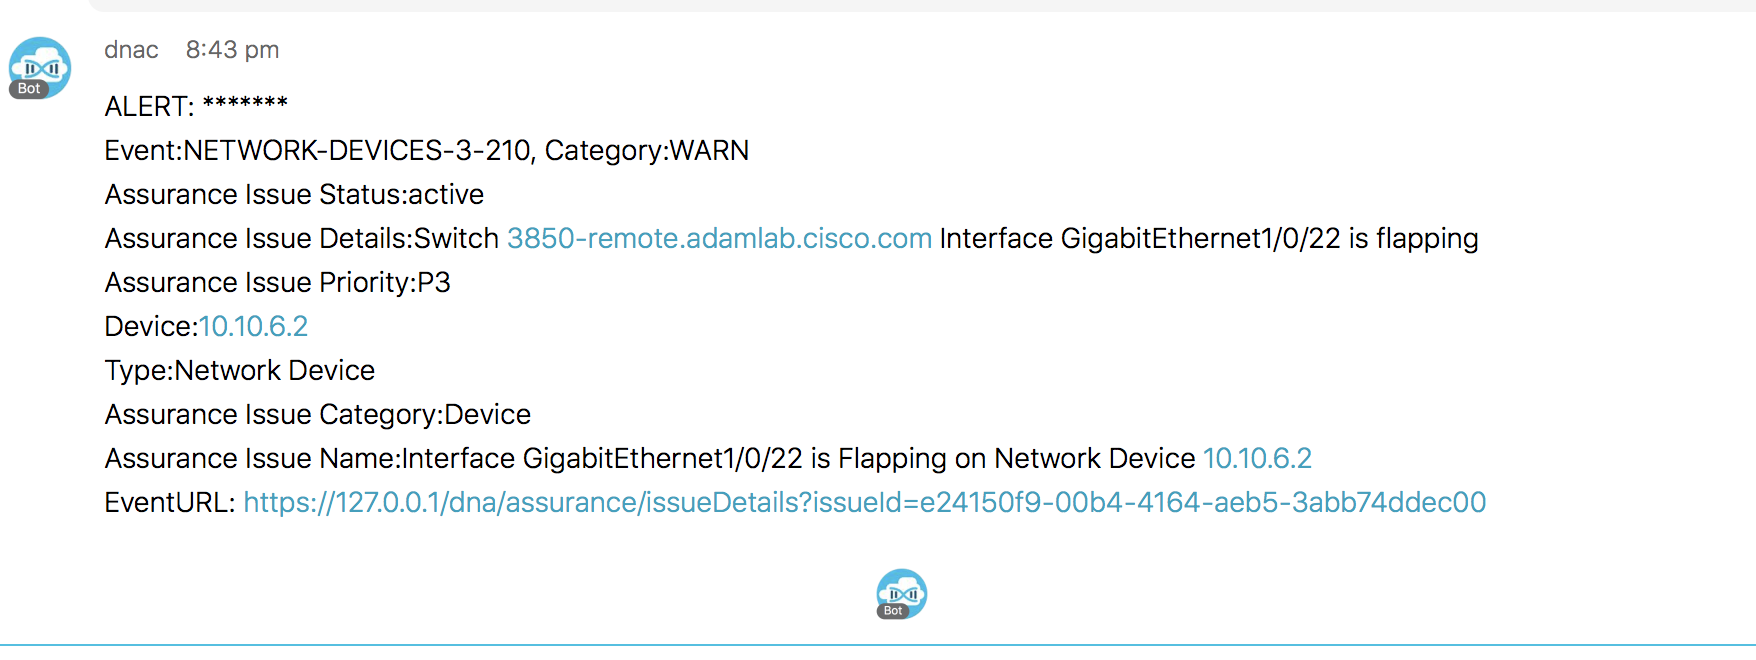
If you want to take a look at the payloads, you can look at the source of the issues in the github directory:
https://github.com/CiscoDevNet/DNAC-Platform/blob/master/client/examples/
Cisco DNAC configuration
I am going to focus on the 1.3.1 configuration. This has changed a lot from earlier releases and is now real time (vs 15min delay).
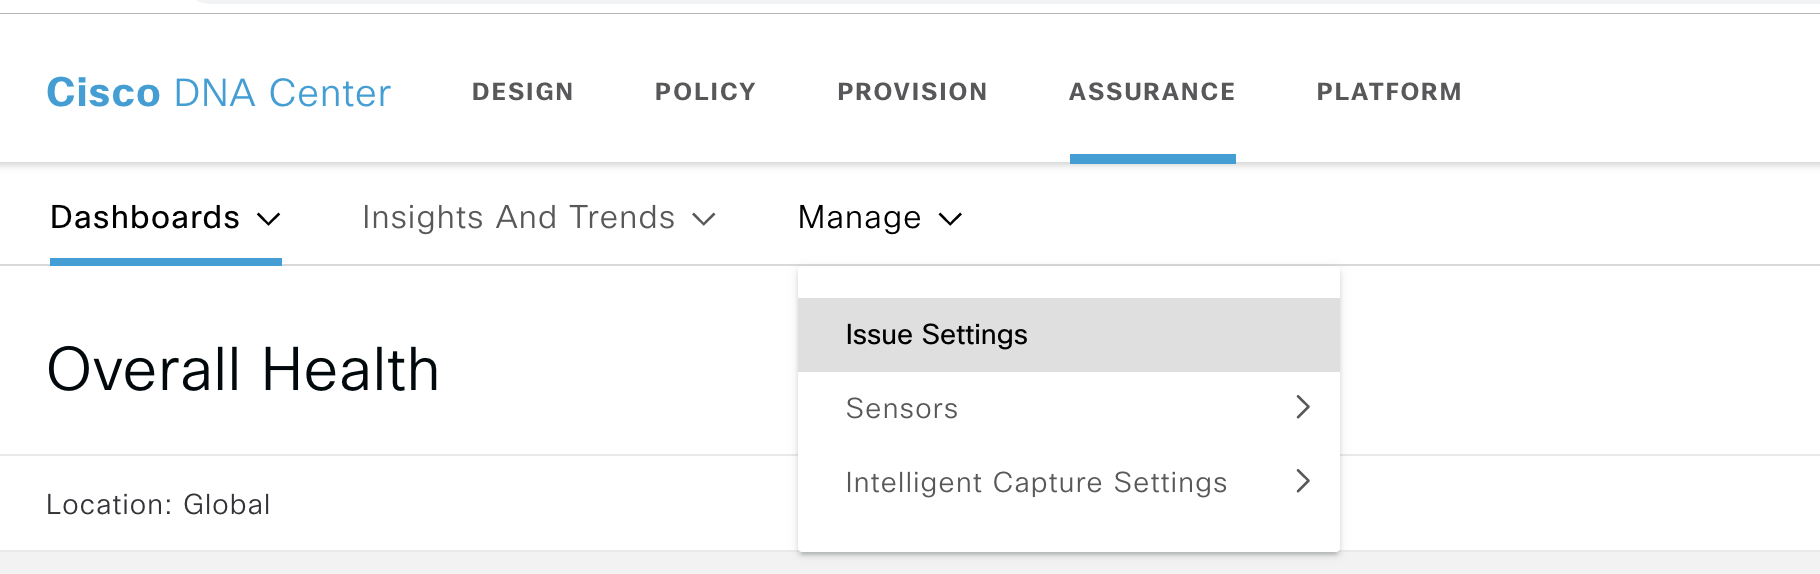
The first step is to go to Assurance->Manage->Issue Settings
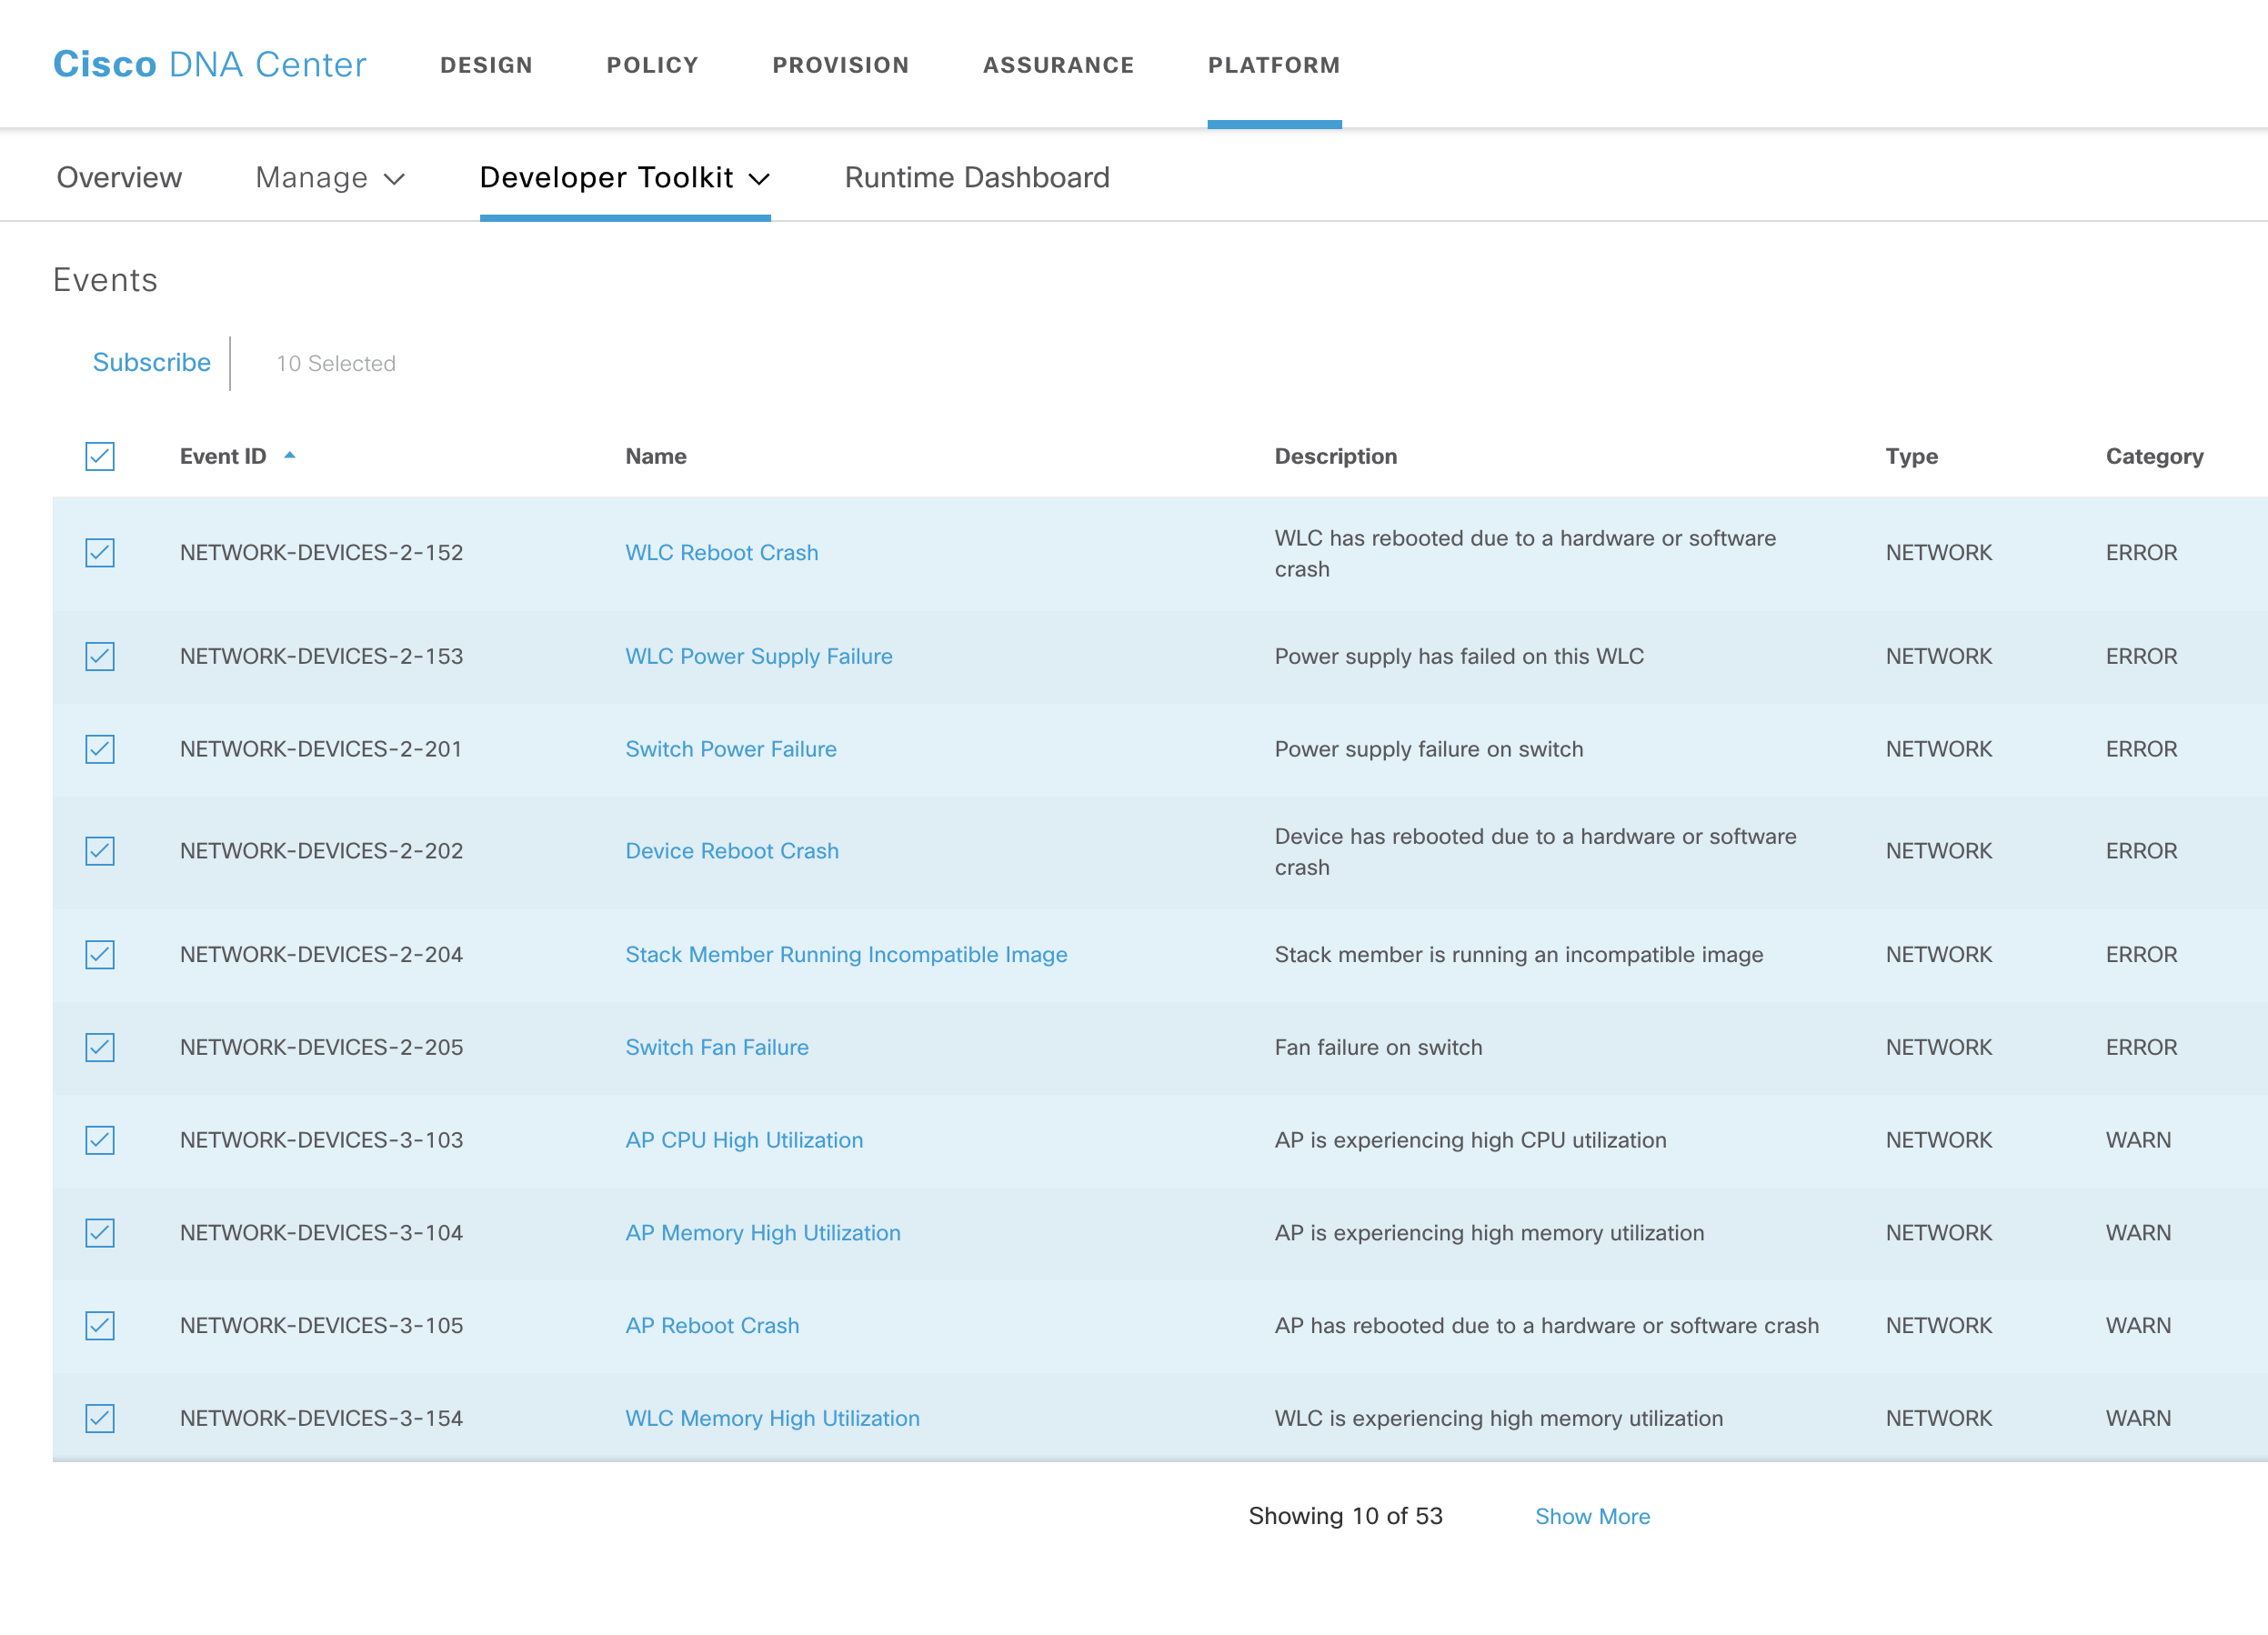
Then click top right “Manage Subscriptions.” A tip is to make sure you click “show more” a few times so all 53 issues can be selected. Only the first 10 are shown by default.
You can then click top left “subscribe,” and then “Create a new subscription.” You will see the screen below.
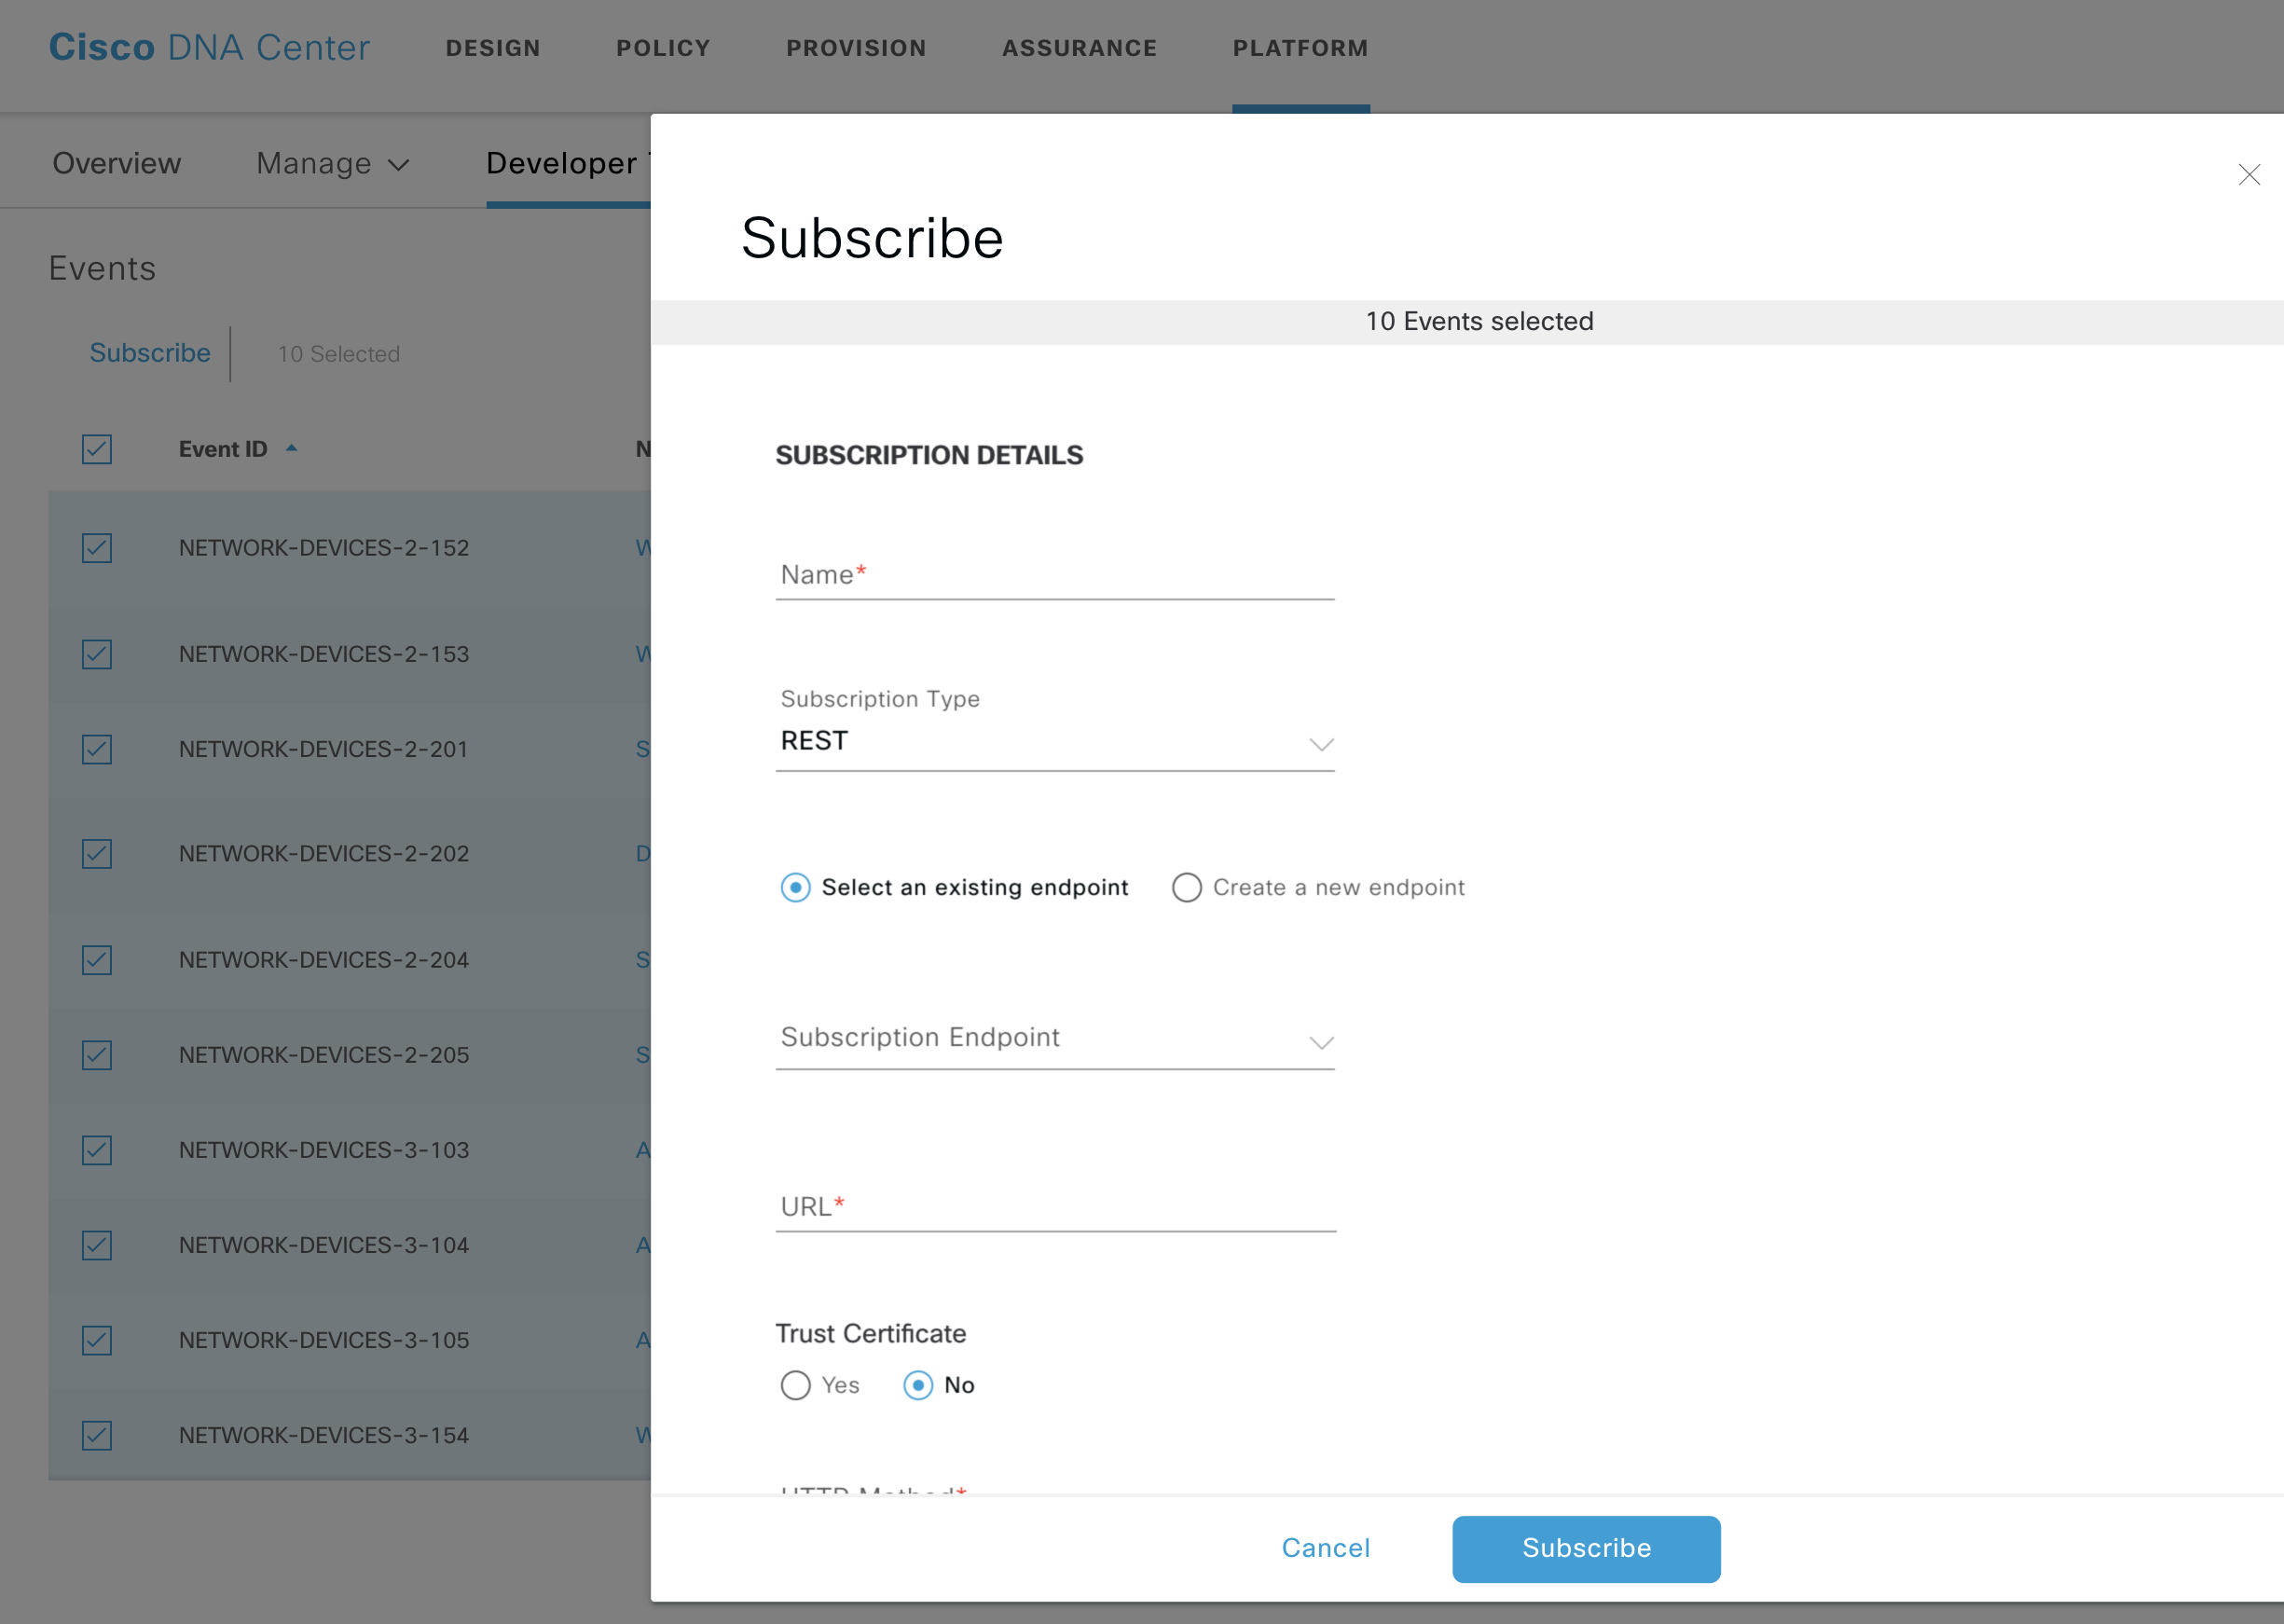
Select the “created a new endpoint option.” For this example, we need the IP address of the server and the port (9000 was the default). Note that this needs to be https. You also need to select the HTTP Method (POST).

For the simple example, there is no authentication, but this is easy to add. Click “subscribe” and the subscription will be created for the selected events.
Congratulations, you now have a working integration between your DNA Center and the python webhook server into webex teams.
What Next?
It would be simple to extend this simple example to create a new room for handling P1 cases, automatically adding people to the room.
There are a number of other blogs in this series on Cisco DNA Center. You can find them here.
In the meantime, if you would like to learn more about Cisco DNA Center, you could visit Cisco DevNet. DevNet has further explanations about other Cisco DNA Center topics.
Thanks for reading.
We’d love to hear what you think. Ask a question or leave a comment below.
And stay connected with Cisco DevNet on social!
Twitter @CiscoDevNet | Facebook | LinkedIn
Visit the new Developer Video Channel


