One of the things we tend to do as networking people is test configurations to see if things work the way we think they will.
Case in point, I just had a talk with a fellow Champion, Teren Bryson (@someclown) and he was telling me how he used VIRL to prove a concept to a customer that didn’t think something was possible.
So that’s what this post is about.
The VIRL Setup
The first thing I want to point out is that this concept will work with other virtual machines. I just happen to be into security and needed to test some ACS configurations when I did this. I have also done this with Cisco ISE as well as the WLC and even the Cisco ASA 1000v prior to the ASAv being integrated directly into VIRL.
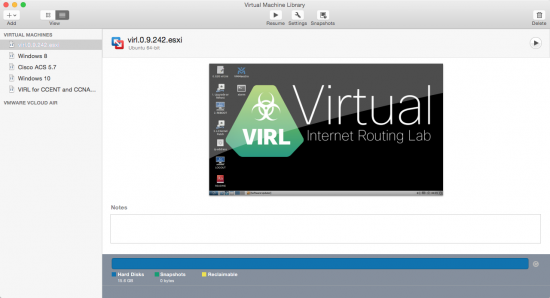
You can start by installing VIRL in your choice of virtualization software. In my case, I’m using VMware Fusion 12 Pro on a Mac running OS X Yosemite.
Note the settings in VIRL on Network Adapter 2. The VIRL .ini file has a configuration for allocating IP address space to VM’s that come up attached to the flat network. VIRL uses vmnet2 as the bridge to the flat network. We could move that to our Ethernet interface or wireless interface but we would need to edit the .ini file for the new network address space. The 172.16.1.0 address space is fine for what we are trying to do here.

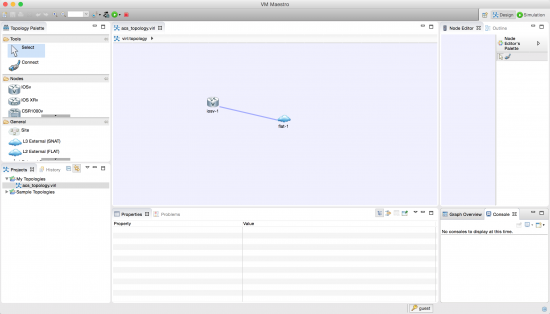
Next you can fire up VIRL and create a topology that looks like the following image. It’s nothing special but will be the connection from our router running in VIRL to our ACS server that we are going to install in VMware.
The ACS Setup
Head on over the Cisco.com and download a 90-day eval of ACS. I have to qualify that ACS is not a cutting edge product in terms of Cisco Identity Management, but it’s still very relevant in a network in terms of administrative access control to Cisco routers and switches. If you’re looking for something in the way of identity management with NAC, 802.1x, and Guest Lifecycle Management check out Cisco ISE.
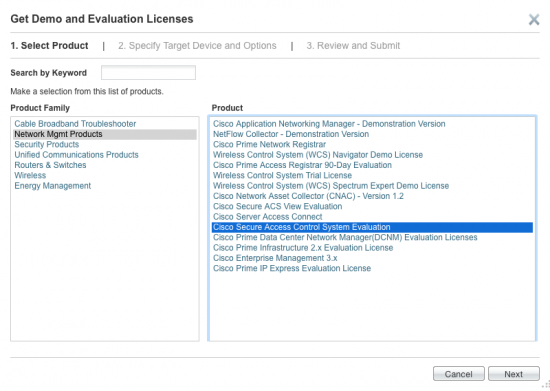
For ACS you’re going to need a license file. Head over to the Product License Registration portal. In the Get Other Licenses drop down you’ll need to select Demo and Evaluation.

On the resulting page select Network Management Products and then Cisco Secure Access Control System Evaluation.
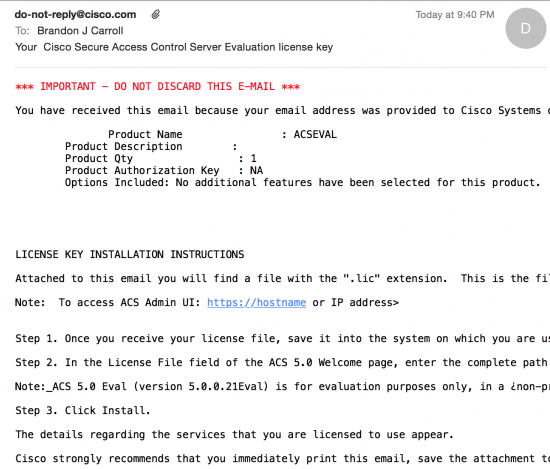
From there you can navigate through the application for an evaluation license. This will get you 90 days to evaluation ACS. You can download the license and Cisco will also email it to you.
Now that you nave a license it’s time to install ACS in VMware Fusion. You can find the specs for the VM in the Cisco documentation.
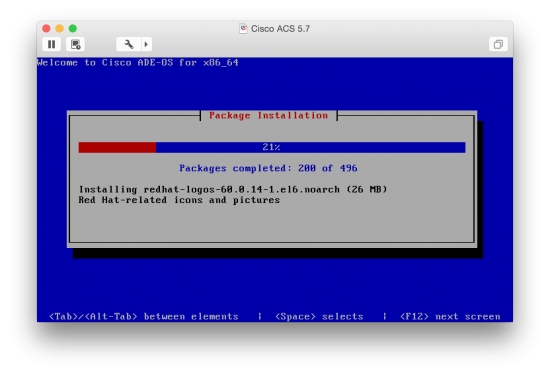
As you initially boot the VM you will be presented with a boot menu. In that menu you want to boot using option 1 so you can configure the initial settings in the VMware interface.

The install process takes me around 20 minutes with an initial install of the ADE followed by some basic network settings.
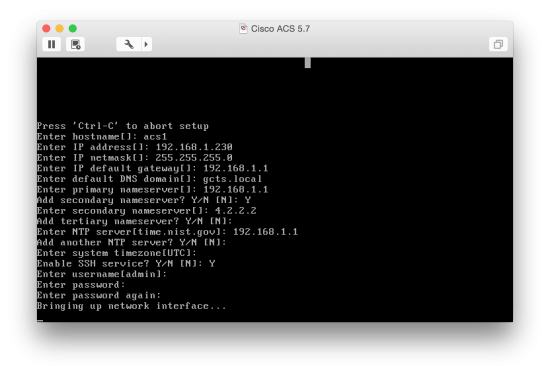
After the install process completes ACS will reboot. When ACS comes back up you can log in using the username and password you created during the install. You’ll want to wait a bit to verify that the ACS Services have started. The command to verify is show application status acs.

From this point you can log into the ACS interface by browsing to the IP assigned during install, /acsadmin . It will look something like the following:
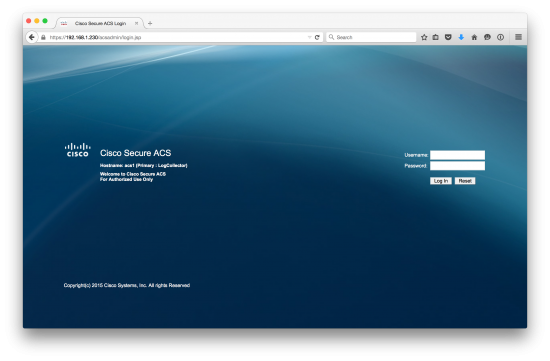
The default credential acsadmin/default should be used the first time and you will be prompted to change the password from there. You will be prompted to apply your license and then will see the configuration pages for ACS.
After Initial Setup
Once you finish the initial install it’s a good idea to ensure you have network connectivity. If you do, then your sitting at the starting point for a normal ACS install. You’ll need to add the router asa a Network Device and then add a TACACS+ server to the router via the CLI. Create a local username and password in ACS and then you can test the connectivity using the test aaa server command in IOS. From here, sky’s the limit.
Wrap-Up
While there is certainly much more you could do, this should get you up and running. From here you can imagine how to integrate a number of other devices in VIRL. VIRL can be a serious companion in your studies as well as day-to-day testing if concepts. Be sure to take frequent snapshots of you images to provide a bit of extra peace of mind. And finally you can check the forms on additional topics like this one on integrating other external images into VIRL.


Thanks Brando, Could you please tell use how many nodes you were able to run at once and what sort of processor as well as how many rams.
Thanks Brando, Could you please tell ushow many nodes you were able to run at once and what sort of processor as well as how many rams.